The end result will be a unique (and likely aged looking) print of your photo on whatever surface you choose. In this case, I chose tin foil, although the technique will also work with many other waterproof materials such as wood, hardboard, or even tile.

The Materials
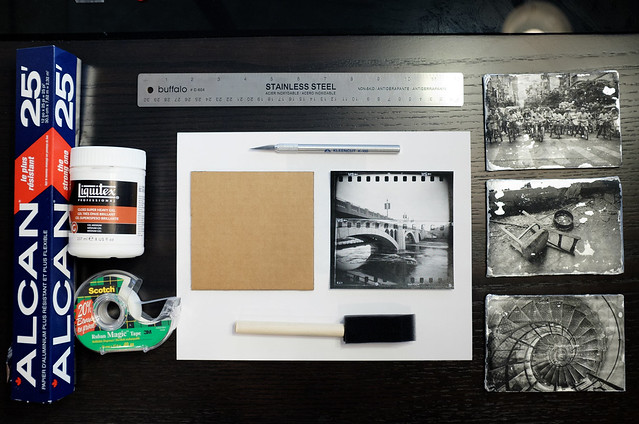
- an exacto knife (or scissors)
- a ruler
- a print to transfer*
- cardboard
- tin foil
- scotch tape
- acrylic gel medium**
- small foam brush
- beer (optional)
*The Print to be transferred: Ideally, your print should be toner based, so something that came off of a laser printer, or a photocopier. An inkjet print doesn't work well. So if you have a photo you really like, get it printed and photocopy it, and that will serve as your print to transfer. If you can, you should also flip the image horizontally, or else you it will transfer backwards onto your surface. This is fine for most things, but any words or text will obviously be backwards.
**Acrylic Gel Medium: You can get this at Michael's or any local art store. I bought a small 8oz bottle of Liquitex Gloss Heavy Gel Medium. This would be sufficient easily for 50+ prints, by which time you will have bored of this technique. So no need to buy a huge bottle. Unless you want to huff it to get high. Then buy whatever size you require. Disclaimer: I don't condone this.
The Process
1) Use the exacto knife and ruler to cut your final print to the size you want. Doctor's note: cutting your fingers may be deleterious to your health.
2) Cut a piece of cardboard (flat, with no folds or bends) to the same size. Previous Doctor's note applies.
3) Wrap the carboard with tin foil, as if wrapping the most precious of X-mas gifts. You want as flat and smooth of a tin foiled surface as possible to work with. Tape down excess foil onto back side. Pretend you are trying to impress your significant other with your mad wrapping skillz.
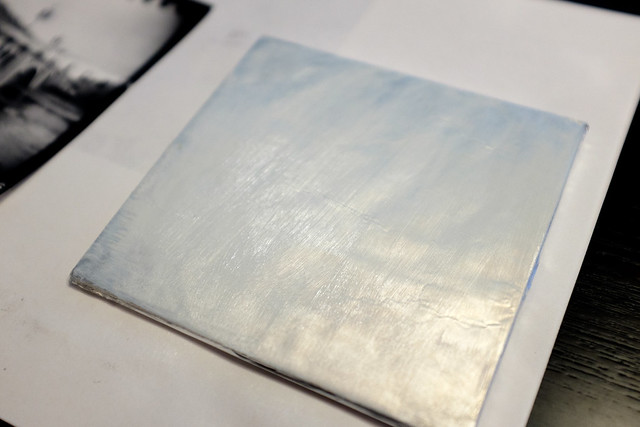
4) Use the foam brush to apply an even layer of the gel medium to fully coat one side of the tin foiled cardboard as per photo below:
5) Place your print (face side down) onto the tin foiled cardboard. Smooth out any air bubbles, and flatten the print to ensure complete contact between the print and the gel. Try to avoid getting any gel onto the back of your print. Or your hair, or all over your table. Your significant other will be impressed by your wrapping skillz, only to be irritated by the sticky mess you left behind.
6) Allow the print+gel surface to set for at least half an hour. Patience is a virtue. Grab a beer. Drink said beer. Who says patience doesn't have a pay off?
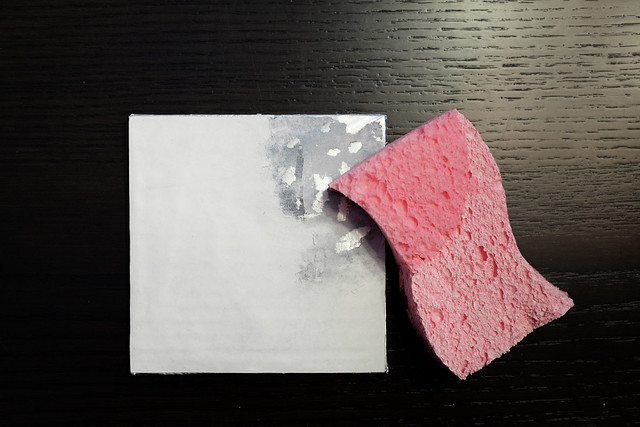
7) Once the print+gel has dried/ set onto the tinfoil, dampen a sponge, and begin gently soaking the back of the paper print. I start with a small area and allow the paper to soak up some of the water from the sponge. Then gently rub in circles (use your finger if you want to be more delicate and gentle) to wear away the moistened paper, to reveal the transferred print underneath, as per photos below:
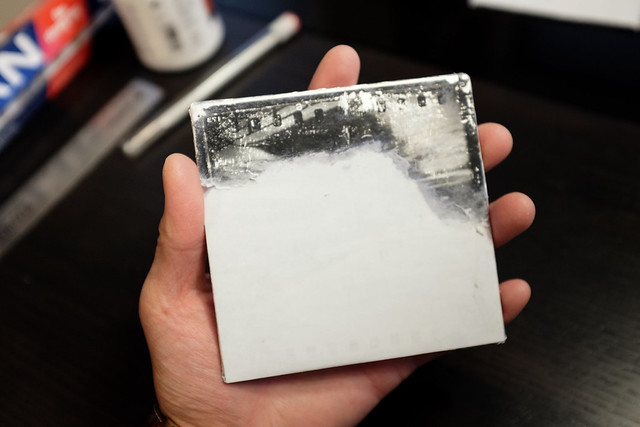
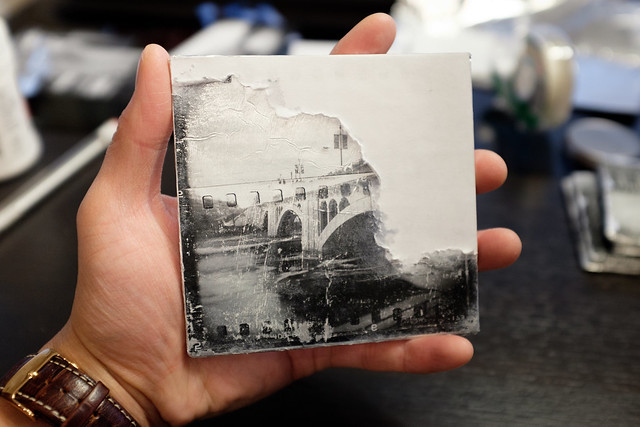
Tips for success: the more even you spread your gel, the longer you allow your print to set, and the gentler you are with the sponge, the higher degree of success you will have. I did this tutorial hastily (only one beer was consumed in the drying stage), so the image did not transfer as well as I would have liked, but the gritty imperfect result sort of works with the image. You can see my previous attempts to transfer photos to other surfaces here - MDF and wood and foil.
Good luck, and here's hoping you have some fun while creating one of a kind prints to give away.
No comments:
Post a Comment